Disclosure: This guest post was written by Sahily Perez – founder of Pretty In Pigment. Susan wants to give a big thanks for providing this awesome article while she is away on vacation!
I recently bought my first house and I have been trying to add touches of my personal style into my home décor. Last Sunday was a rainy day here in South Florida, so it was the perfect time to do a rainy day project to decorate my new space. I decided to make a DIY glittery mason jar to use as a vase for my kitchen counter.
Glittery mason jars are very easy to create and can be used to add a sparkly touch to any room in your house. You can use the jar as a penholder on your desk, a makeup brush holder on your vanity, or as a festive vase for your entry table during the holidays.
Wherever you decide to place your glittery mason jar, it’s sure to add a chic accent to any room in your home.
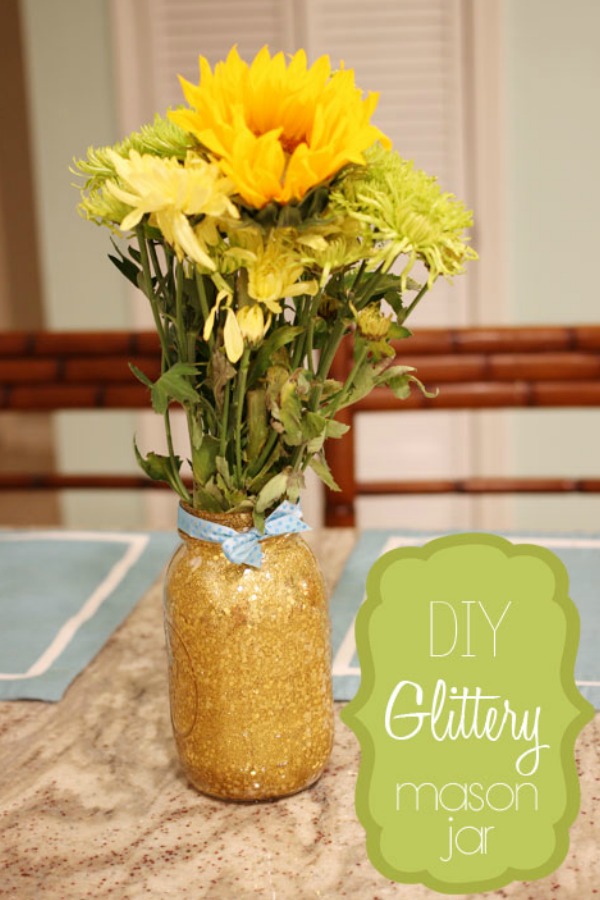
- Mason Jar (Select the size based on what you are planning to use the jar for)
- Modge Podge, Gloss Finish
- 2 sizes of glitter (a combination of large flecks of glitter and small flecks is recommended for best results)
- Paint Brush
- Scissors
- Ribbon
- Skewer (not pictured above)
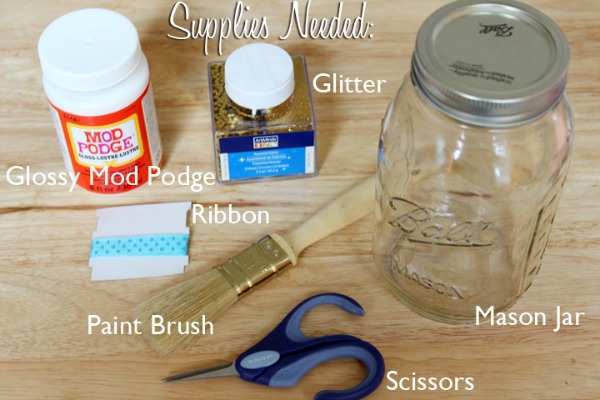
Step One: Using your brush, paint the inside of the jar with Modge Podge. Make sure to evenly coat the jar with a thin coat of Modge Podge.
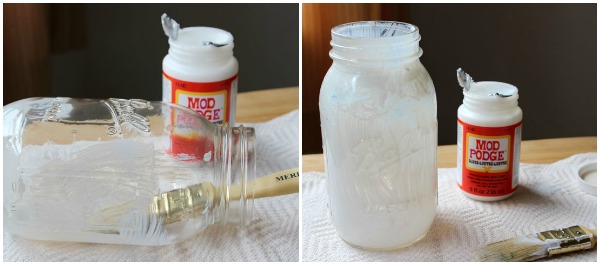
Step Two: While the Modge Podge is still wet and tacky, tilt your jar to the side and sprinkle the large flecks of glitter inside. For best results, do one side at a time. If you get a clump of glitter in once section, you can separate it using the skewer. Once you have a coat of large glitter on the walls of the jar, you can sprinkle some on the bottom and along the upper rim of the jar.
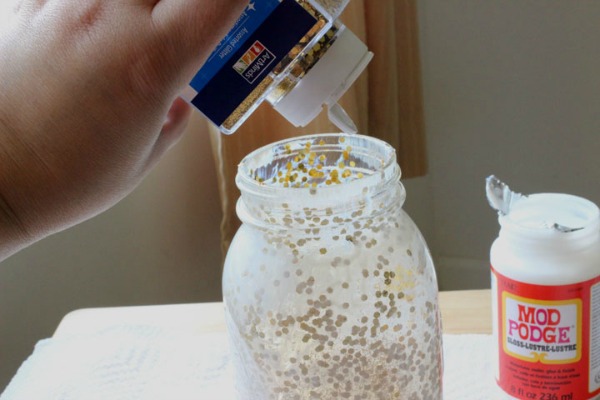
Step Three: Now you will want to switch to your small/fine glitter and apply it to the jar using the same method used in step two. You will want to make sure that every part of the jar is covered in glitter at the point. Pouring a large amount of the fine glitter into the jar and swishing it around is an easy way to evenly coat the jar. Once the jar is fully coated, shake out the excess glitter.
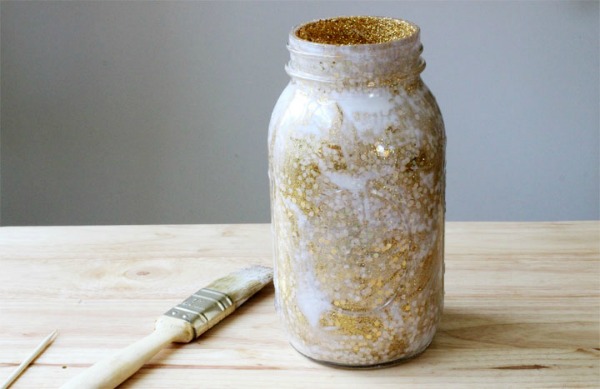
Step Four: Once your jar is coated, set it to dry. For quicker drying, place the jar by a window or use a blow dryer to speed up the process.
You will notice that once the Modge Podge begins to dry, it will turn from white to clear. Wait until all sections of the product have turned clear before using the jar.
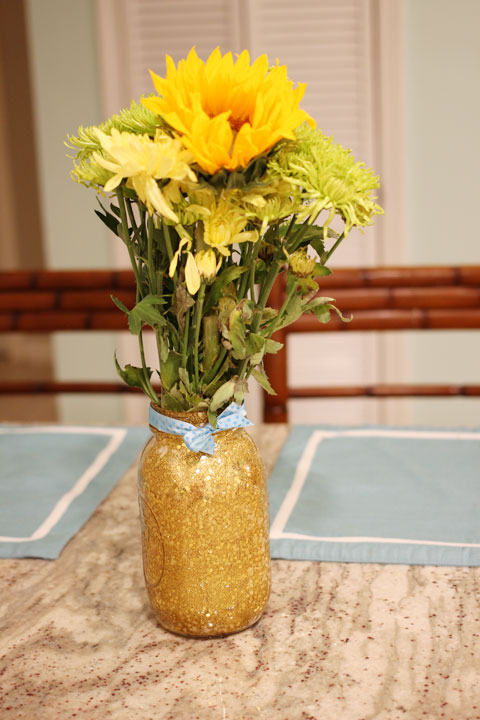
Here is the finished product!
I hope you enjoyed this tutorial and thank you for reading!
This is a guest post from Sahily Perez, the founder of PrettyInPigment.com, a fashion-focused lifestyle blog. Sahily is a South Florida blogger covering the latest trends in fashion, sharing her professional beauty tips and recommendations, and most recently she has started to share her chic home décor ideas.
Disclosure: This was a guest post given to Budget Earth. If you would like to read more written by Sahily, make sure to head over to Pretty in Pigment. There was no compensation received by Budget Earth or Pretty in Pigment for this post.
Would you like to have your products featured in a giveaway event? Want to increase your social media exposure? Contact susan.l.bewley@gmail.com to see how I can help YOUR company today!
I have a few mason jars around the house and I have no budget at this time for decorating, this look so pretty and seem pretty easy to do.
Maria,
They are super easy to make. It took about 10 minutes to create the jar. The longest part is waiting for it to dry, but you can speed it up by putting the jar in the sun (like I did) or using a hair dryer to speed up the process.
I love the use of mason jars in the home for a country look. I use to make my candles in them.
Thanks for the info. Winter is comming we will have to try this. Thanks
This is a really cool idea…good way to upcycle your used mason jars.
This looks so easy and looks like anyone could do this. We recently bought a house and I am trying to do things that the house will look a little more decorated. I love finding different projects like this to give the home a little touch of things I have done myself.
Hello Mary!
That’s the exact reason I created these sparkly little things. Buying a new house is so expensive, and I have been trying to find ways to create things that will make my home look nice, without breaking the bank.
That looks so nice – I would have never figured out how you did it!!! I love anything with mason jars!
That’s a great project for young girls! I can see it now in my daughters rooms! Thanks for the post!
Love these DIY projects
It looks super easy and inexpensive. I’m not very crafty but I could even do this.
What a fun idea! They would look great in fall colors and winter as well